.avif)

Homemade 'Alien UFO Abduction' Costume - How to Guide
UAP's and Rosswell Aliens don't just beam up cows you know... Have your own close encounter with the third kind with this homemade 'Alien UFO Abduction' costume.
This Alien Abduction costume is the result of a few films from the 80's...
When you were raised on a staple diet of Close Encounters of the Third kind, Flight of the Navigator, ET and always envied Daniel LaRusso's Shower Costume from Karate Kid then all roads ultimately led me to this rad fancy dress costume.
For more of my DIY costume and décor reels and photos follow me on Instagram @MotherOfGrom
Follow me on Instagram to see this years latest costume creations! @motherofgrom
Materials you need
- Large piece of cardboard
- Plastic mixing bowl
- Grey/Silver paint or spray paint
- Green card
- Grey duct tape
- Battery operated wired lights (I used 3 sets)
- 2m Lametta - I used holographic
- 32mm waste pipe x2 ( length depending on the height on child we used 140cm in height each)
- A backpack
- A Shoe box
- Old newspaper to stuff the backpack
Method
1. First up, the UFO body (or UAP I should say) *Unidentified Aerial Phenomena OBVIOUSLY! Duh! This was fashioned by outlining then cutting a 100cm diameter circle out of a large piece of cardboard. You will need two 'disks' so you need to cut out two of these circles.
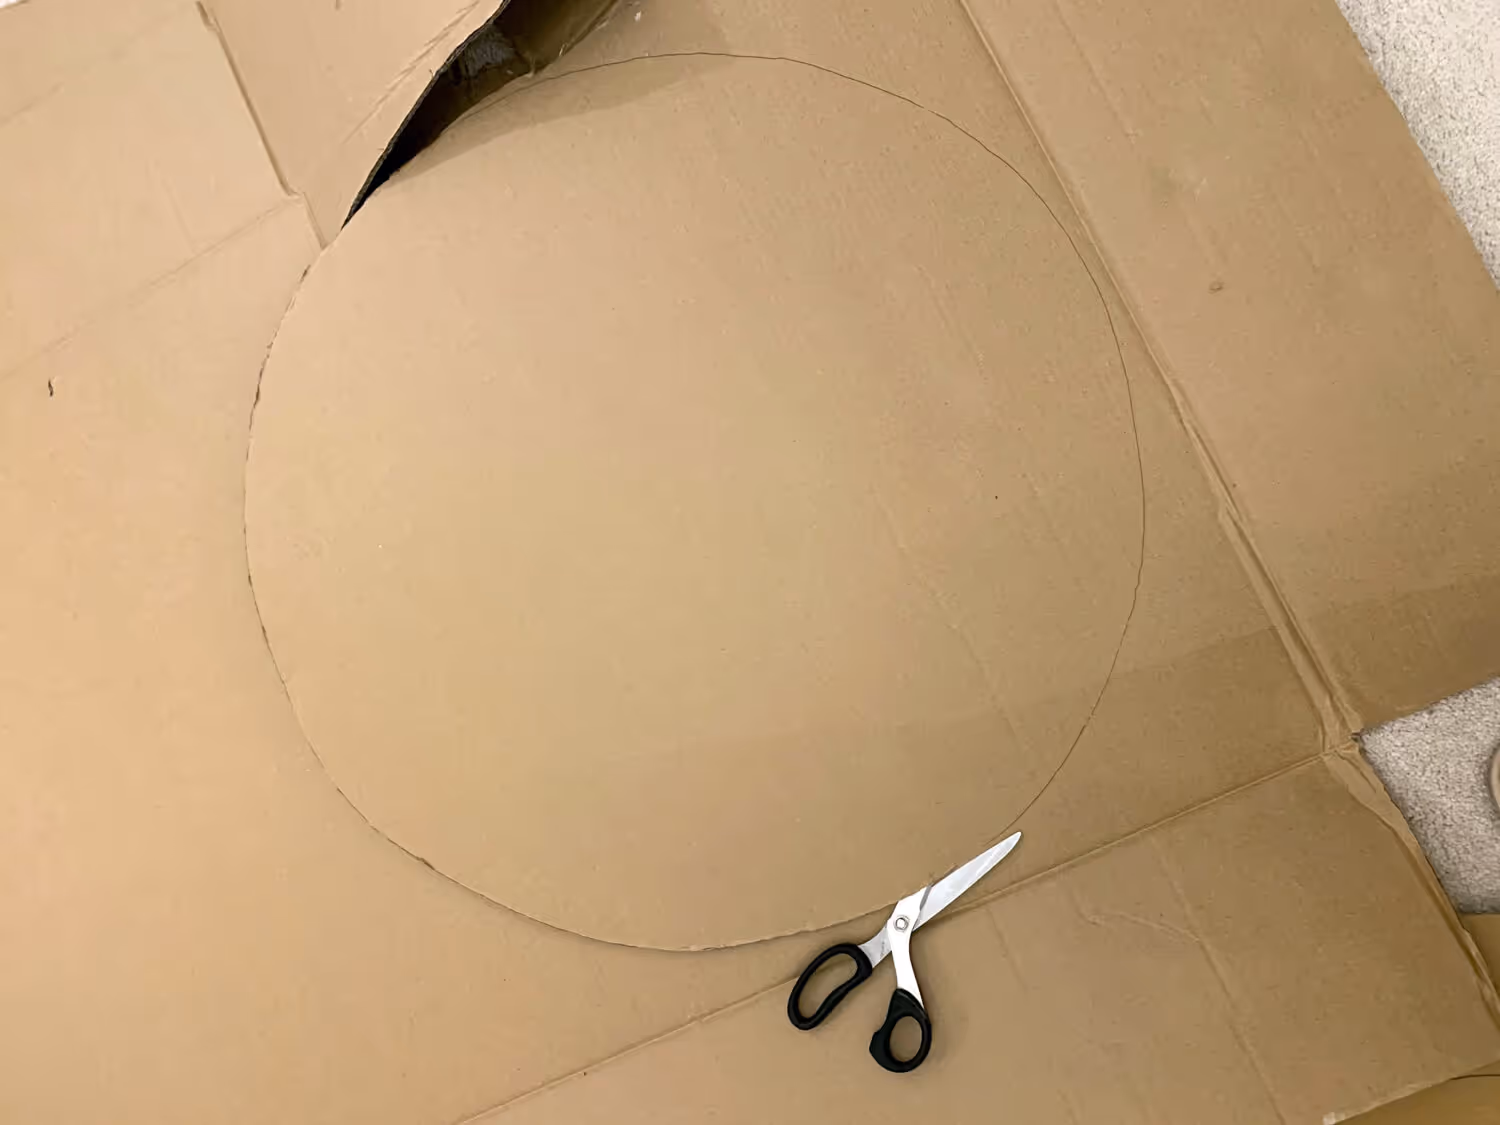
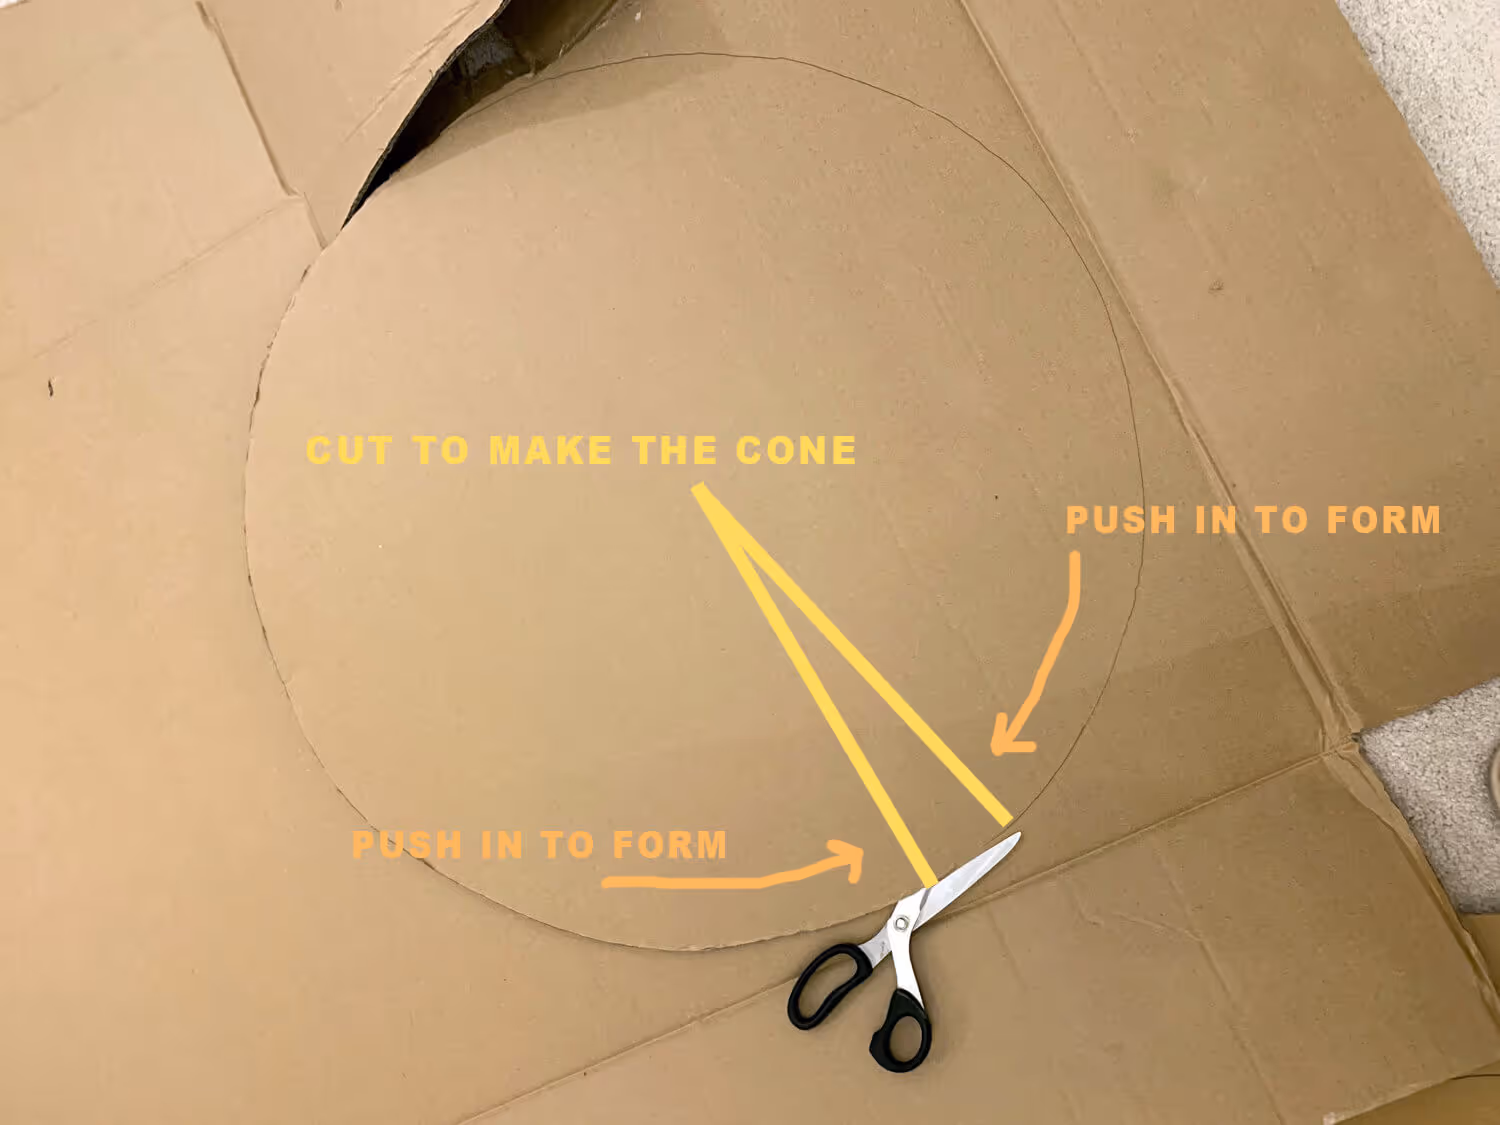
2. Now you need to transform these disks into cones. Very wide, very flat, very low gradient cones! This is done by cutting a straight line anywhere on the radius of the circle (if your card is thick and dense you may need to cut out a very thin triangle.)
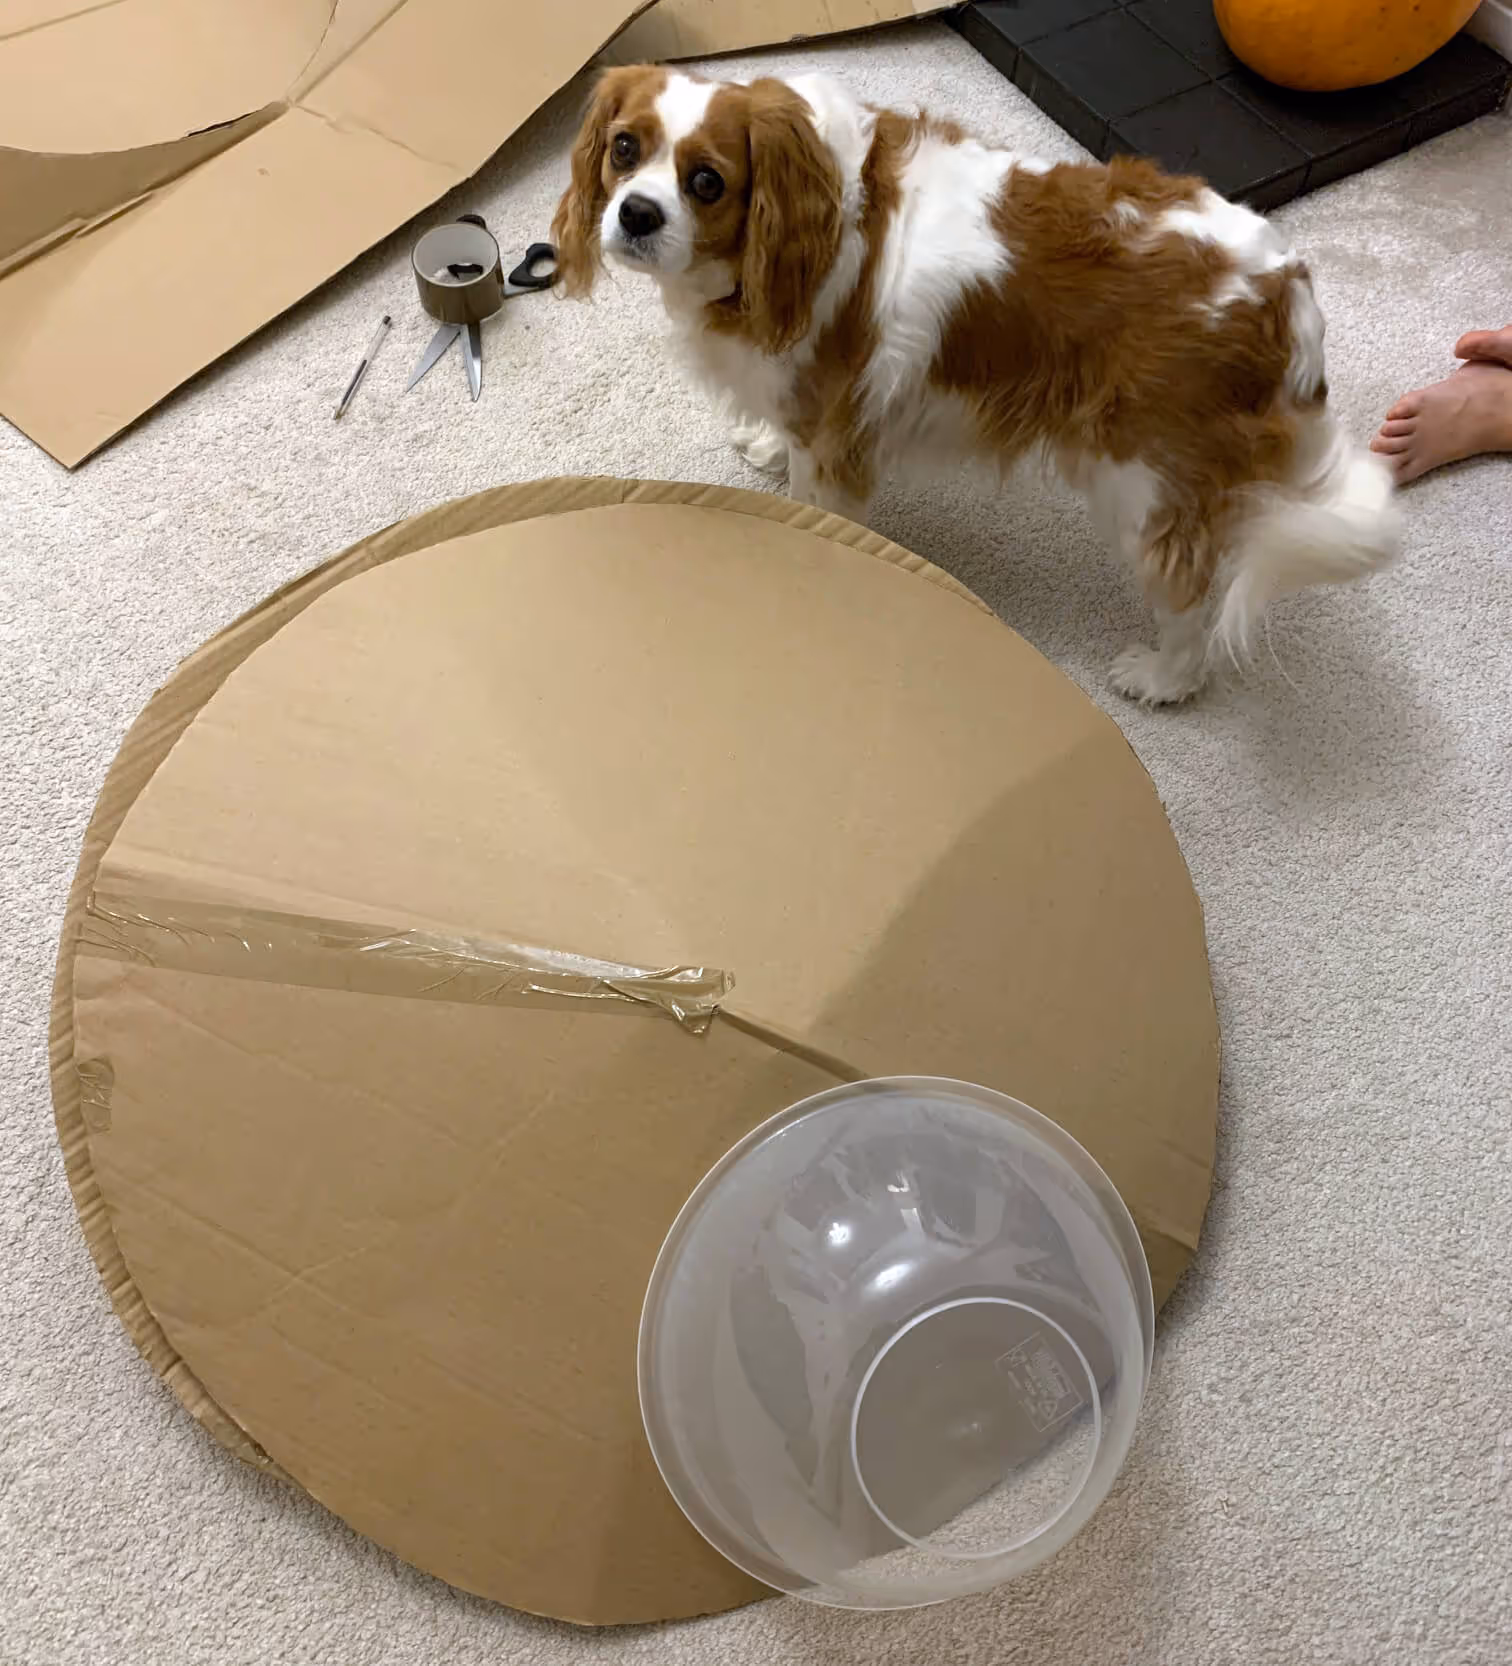
You now push the ends of the circle (either side of your 'cut') together, you will see the circle gets smaller and the centre will start popping out. Out and up into the 3rd dimension, giving rise to your first cone or 'roof of your UAP' Congratulations! Now repeat the process and make your second cone (the bottom of your UAP.)
3. To attach the two cones, you will need a glue gun or a staple gun. For this, a staple gun is preferable as it will be more secure. Pinch the edges of the cones together and staple at 10cm centres around the circumference.
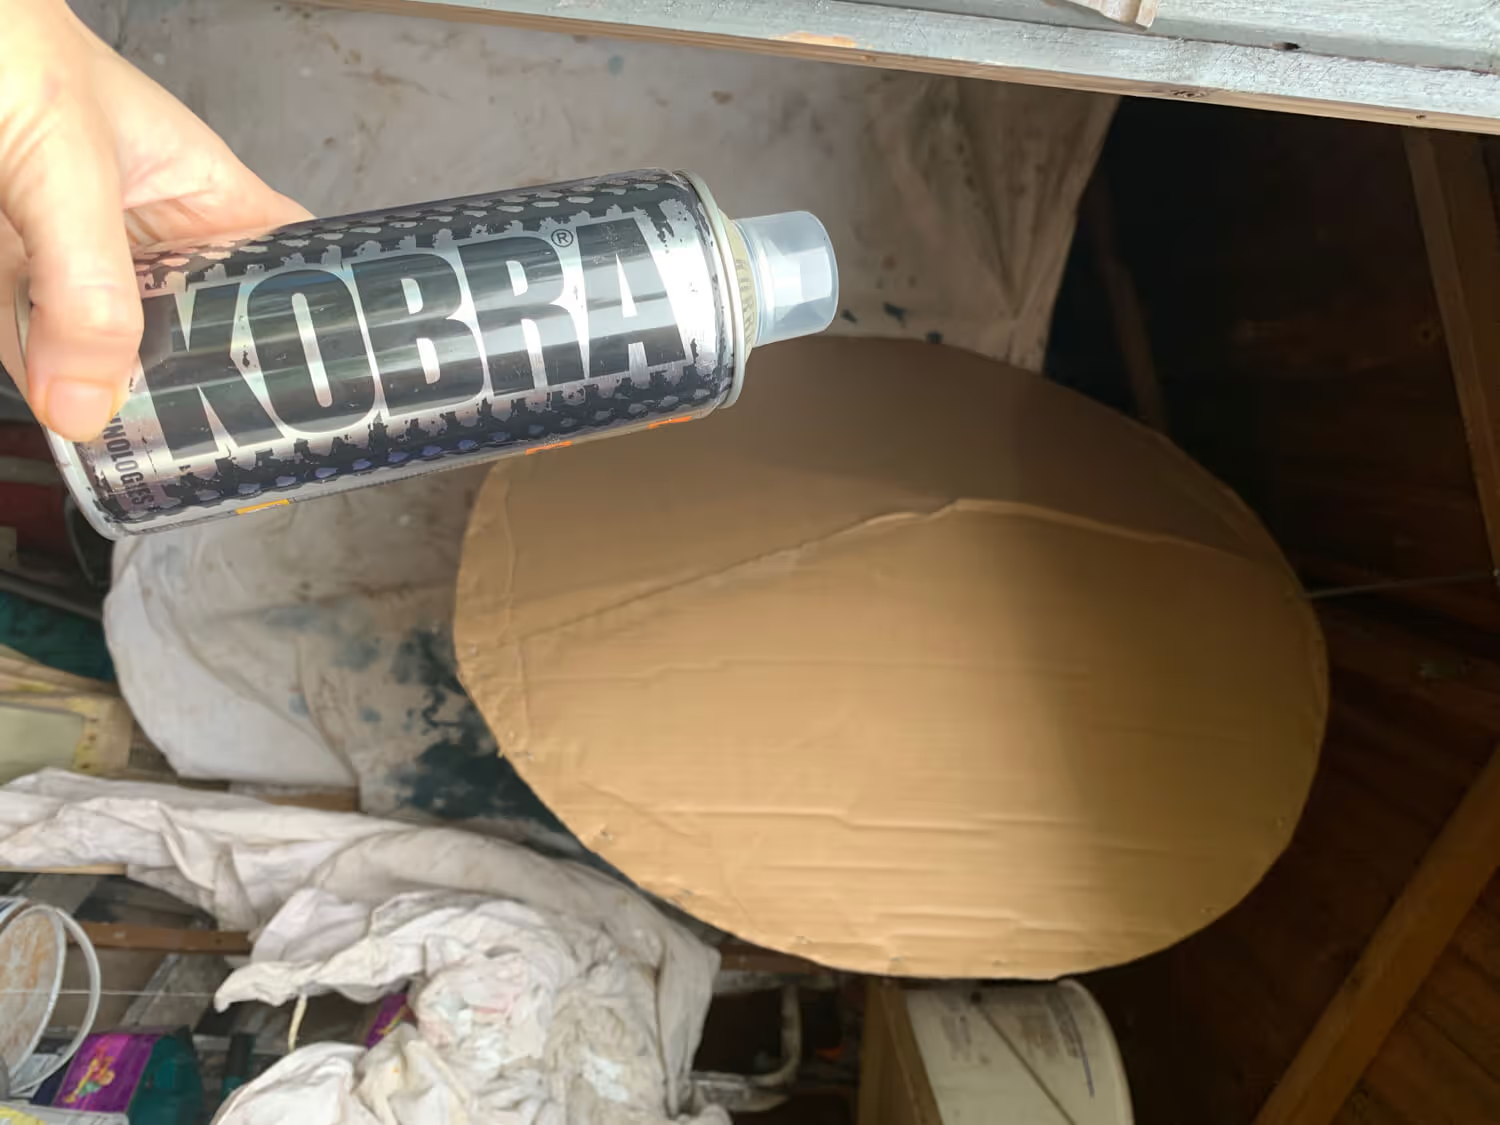
4. Now it's time to paint the body. UFO's always seem to be depicted as high gloss, highly reflective silver entities... and (on the handful of occasions) I have laid my primitive peepers on UFO's - they are always true to this rule ;-
*OK OK I digress.. all my UFO knowledge comes from 'Flight of the Navigator' but so too does Jeremy Corbell's! I used some silver Kobra spray paint in a well-ventilated space and left for 24 to dry.
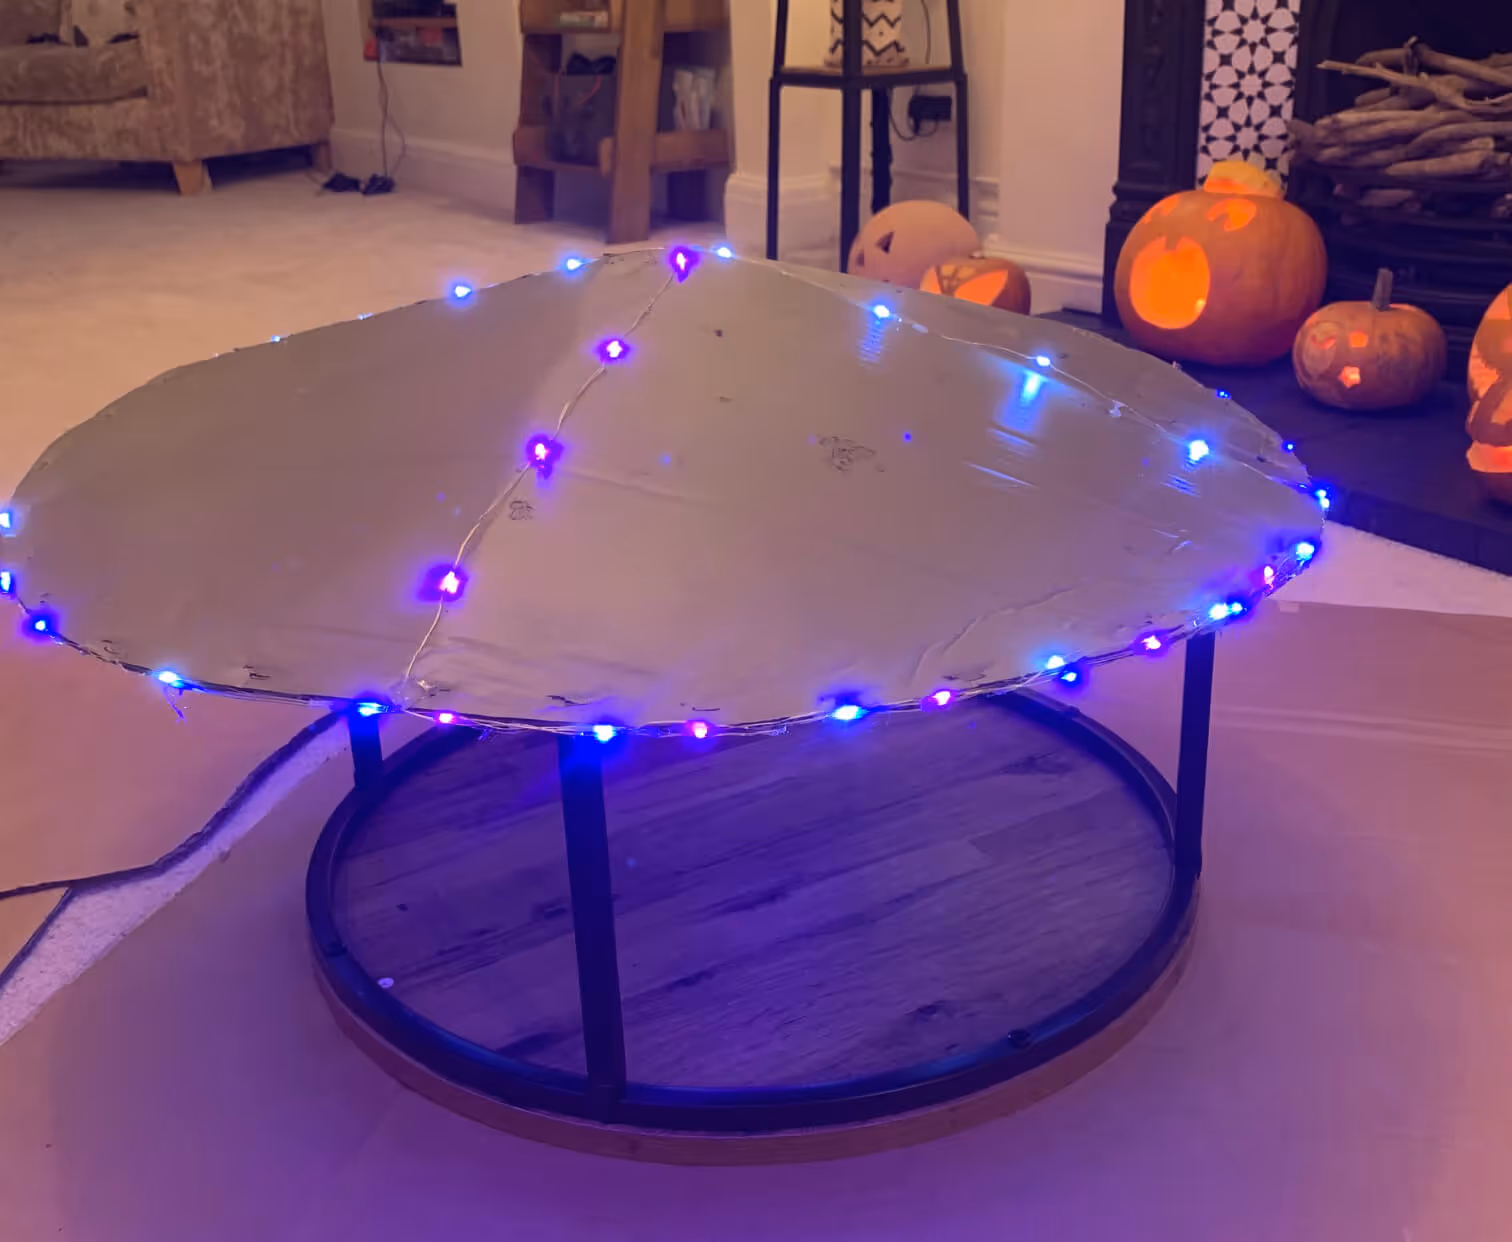
5. Once dry, the battery-operated lighting sets can now be attached to the UFO body.
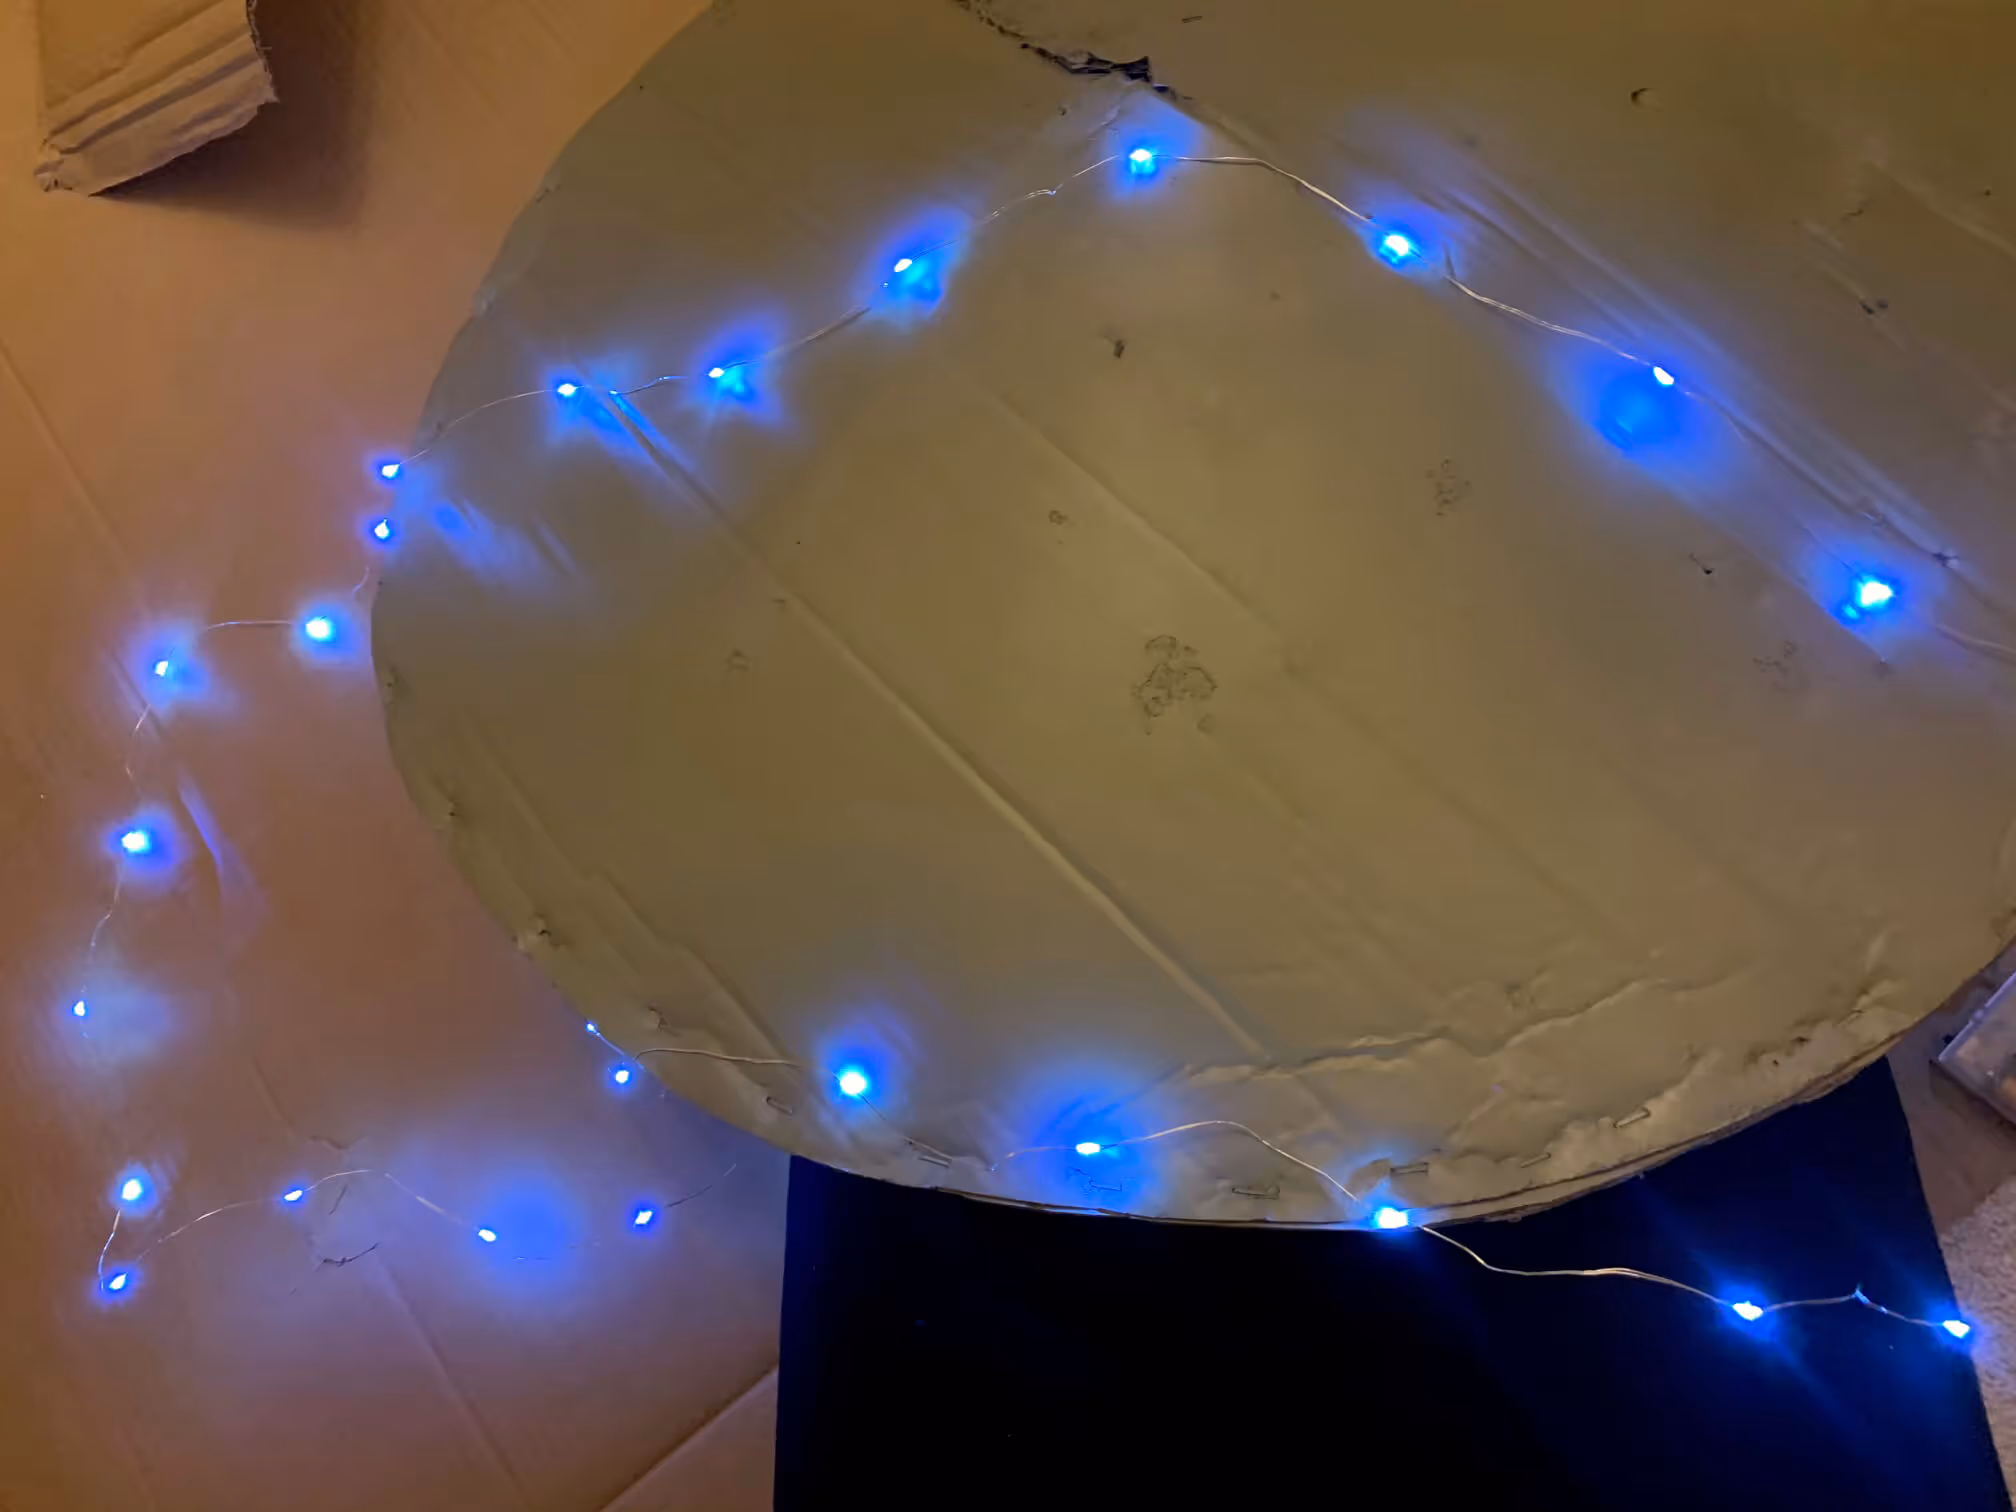
5. I used my trusty glue gun once again for this (cellotape would suffice) and tried to ensure I covered the circumference in it's entirety and up the body of the top and bottom of the disks a few times (4 or more) so that the structure of the UFO is delineated when in the dark. (It will also shed some light on your alien in the cockpit.)
Be mindful of where you attach the battery packs for the lights as you will need easy access to the ON / OFF switches. I taped mine to the underside of the UFO, towards the centre so that it was not visible. They are fairly heavy so strap them in tight with duct tape.
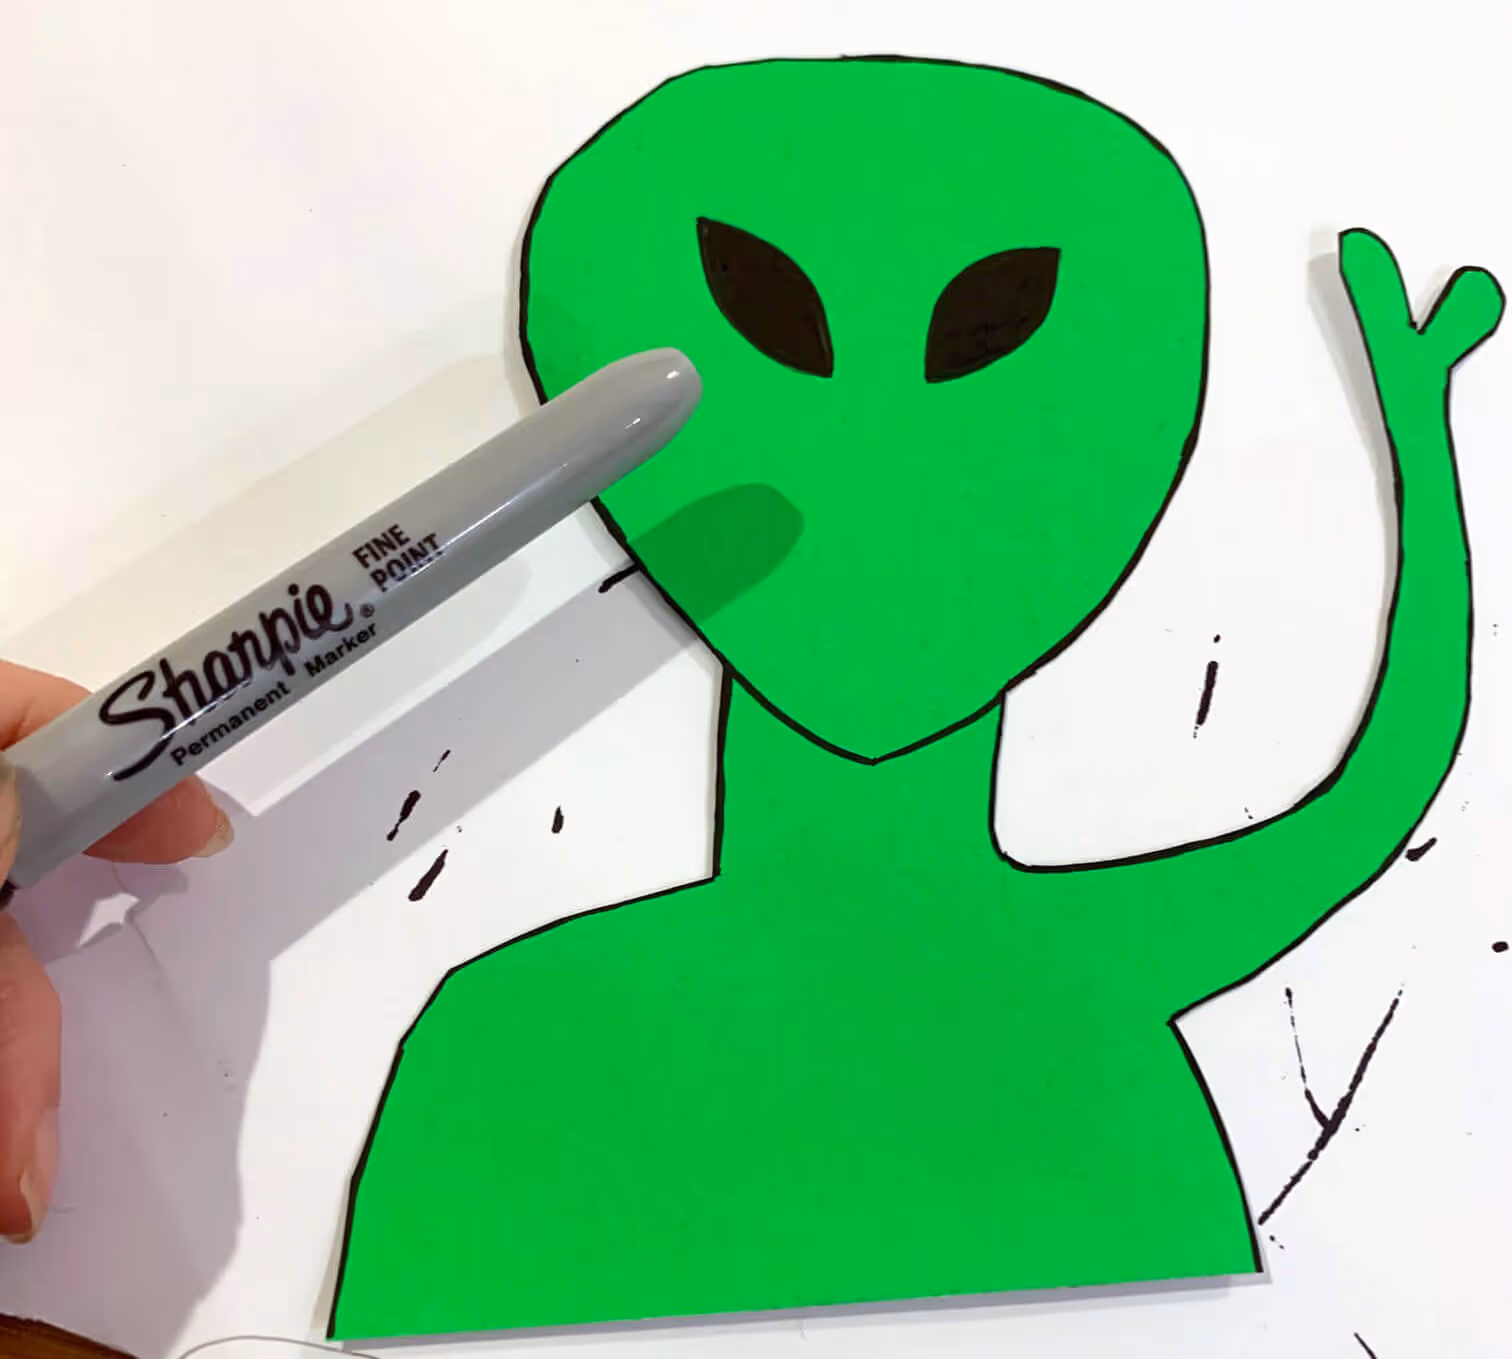
6. Now to make your pilot... or navigator I should say! I went for the ubiquitous 'Grey Alien' (Zeta Reticulans, Roswell Greys, or Grays.)
I outlined the oversized head and human-esque body on green 180gsm card then cut it out and used a black sharpie permanent marker pen to draw in the large black eyes. I thought it best if the alien was 'coming in peace' - so made it throwing up a high5 .... a high2 actually. I folded the base, and glued it to the top of th eUFO.
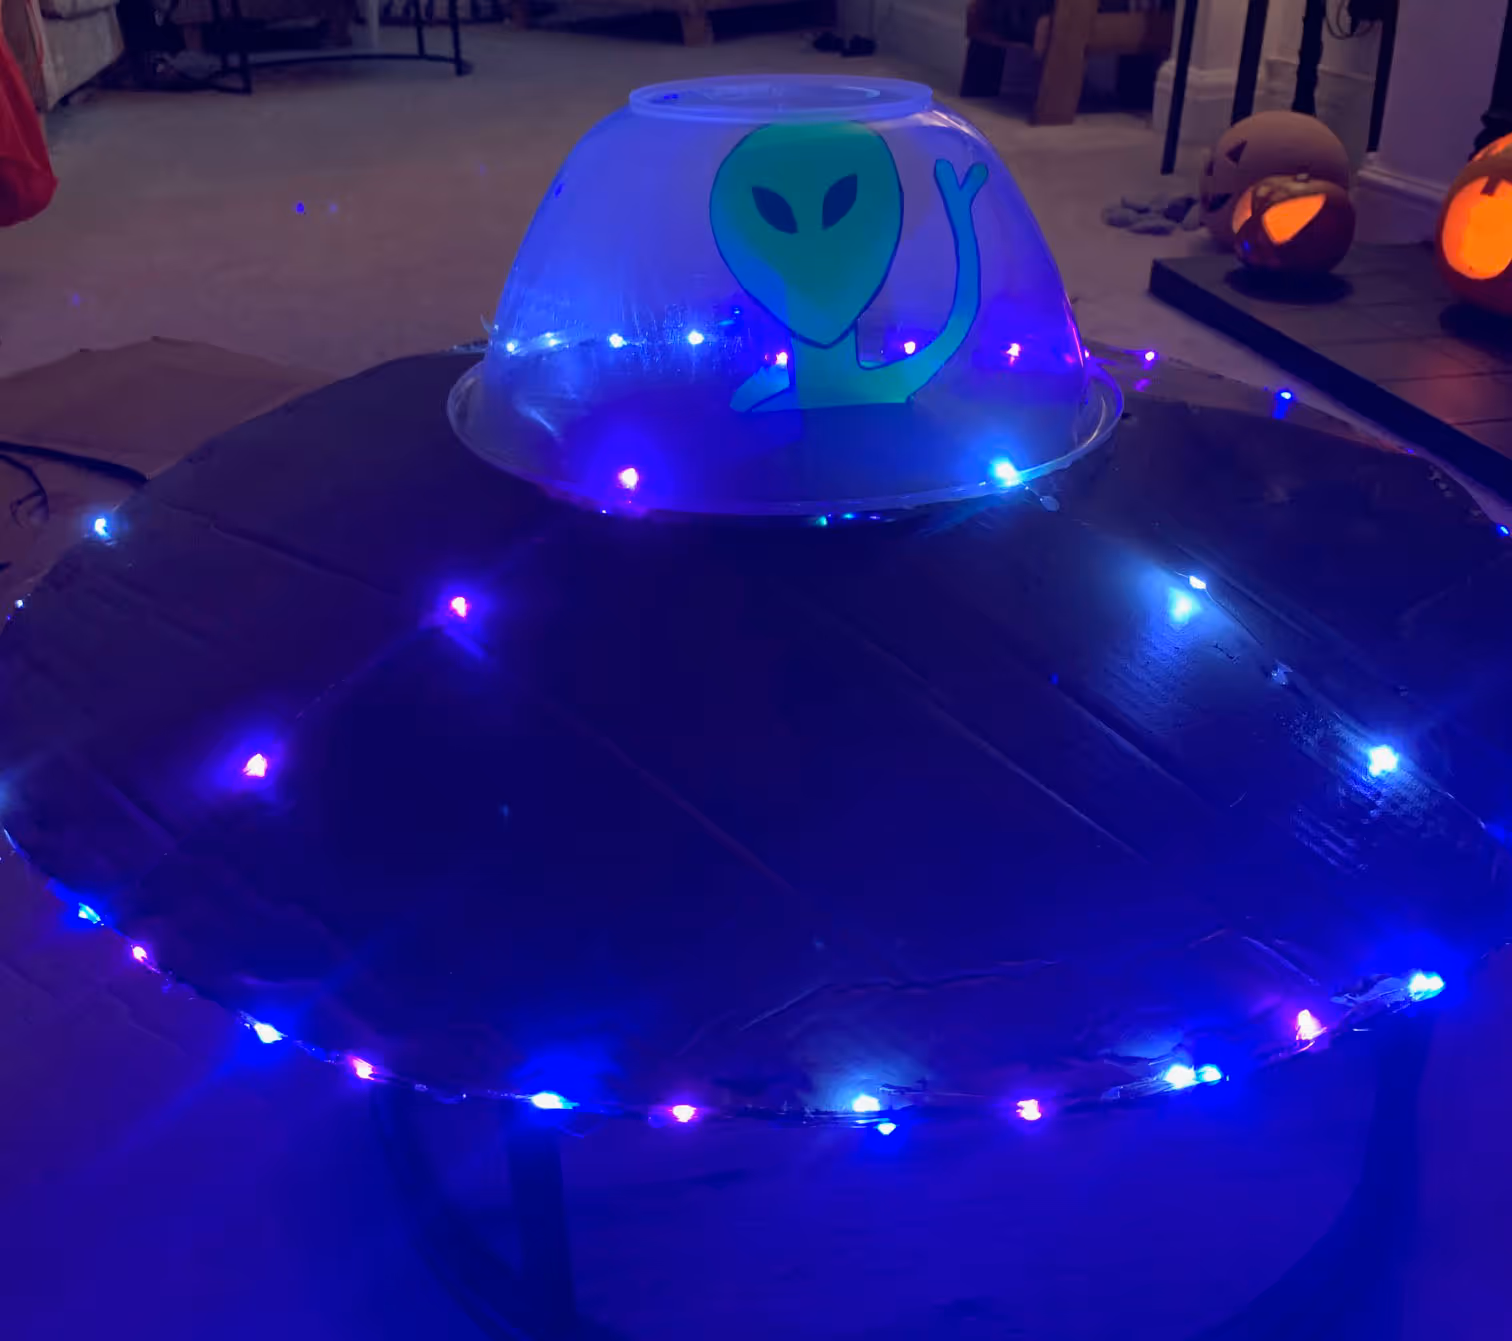
7. I used a transparent plastic mixing bowl for the alien cockpit and this was stuck onto the UFO using my glue gun.
8. Now for the slightly tricky part of putting together all of these components to give the illusion that the flying saucer is hovering above your head. The rucksack provides a sturdy base so get this strapped onto your child's back nice and tight. I then took a cardboard box, stood it on its side, and cut 2 x 32mm holes in the top and 2 x 32mm holes in the bottom.
These top and bottom holes should line up so that you can now feed through two pieces of 32mm waste pipe into each of the holes, passing through the top and bottom holes. Once through the bottom hole, I wrapped the pipe end with gorilla duct tape so that the pipes would not pull back through. I also wrapped the tops of the pipes. These pipe lengths will be about 1000-1500mm but gauge it for yourself and how high you want it sitting above your child's head. Don't cut them too short yet... a lot of the pipe disappears into the body of the UFO. Leave them longer at this stage as you can always cut them down later on.
9. I now popped the shoebox into the backpack so that the tubes were sticking out of the top opening and I packed all around the shoebox with as much newspaper that I could fit in. This is so the box (supporting the tubes, which are supporting the UFO) is held firmly in place in the backpack.
10. To find the 'balancing point' on the UFO balance it on your finger until it is pretty much steady and note this spot. This spot will be in the centre of where you want to make your 2 x 32mm holes in the base of your UFO to pass the two pieces of waste pipe through. Offer the two sticking-up pieces of waste pipe to the UFO base so they are on either side of the balancing point and mark and cut these 2 x 32mm holes out.
I decided to make the holes smaller than the pipe so that they would need to be forced through the cardboard UFO base to ensure a snug fit. I made them 30mm. Once you have pushed the pipes through the holes you will feel the pipes butt-up against the inside surface of the top of the UFO. At this point move the UFO forward and back until you are happy with the angle that it sits at and use the grey duct tape to secure the pipe to the UFO.
11. Have your child try on the backpack. If the UFO needs to come down a bit you will need to pull the pipes out of the saucer and trim them down to suit.
12. Also if the structure is rocking back and fore or listing, attach a belt or piece of string to the upper part of the shoulder straps to lock them closer to your child's shoulders (acting as a cross-brace)

13. If you are happy with the height and how it looks it's time for the traction beams to beam up your little earthlings! My glue gun was further used to stick one end of the lametta around the UFO's perimeter.
The other end is left to dangle freely. Make it long enough to hang near their feet... but not longer than their feet. You don't want them coming a cropper while trick and treating or (worse still) not actually being abducted! You were so close to having a few peaceful nights to yourself ;-)
I hope that all makes sense (I aim to include some more pics of stages 8-13 to illustrate clearer how it was put together) Til then, I do so hope that you have some good results. This costume was a huge hit with our neighbours whilst trick and treating

Just hope that it isn't too windy. Pesky Welsh Wind(*see above for results in the wind)
Please check out my 25 Tutorials for Halloween Costume, Craft and Baking to see plenty more where this came from!
Share if you care ....

MoG x
Mother. Blogger. Maker. Baker.
Queen of the Sandals and Breaker of Paper Chains.

Father of Grom
Father. SEOnsai. Builder. Mugician.
Gen Xer Prancer and Breaker of Dancer.
MoG x
Mother. Blogger. Maker. Baker.
Queen of the Sandals and Breaker of Paper Chains.

.jpg)


.png)